Add custom fields
Create a custom field for your project, ask for it on your forms and show its values on your widgets, Wall of Love pages and share pages.
Create a field, ask customers for it on your forms, and show the answers with your testimonials. Custom fields are available on Pro, Premium and Business, and only the workspace owner and project Admins can create them. For what each field type does, see Custom fields.
Open Custom Fields
Open your project, click the gear icon next to its name at the bottom of the sidebar, and choose the Custom Fields tab. It lists your fields and how many of your plan's fields you've used.
Create the field
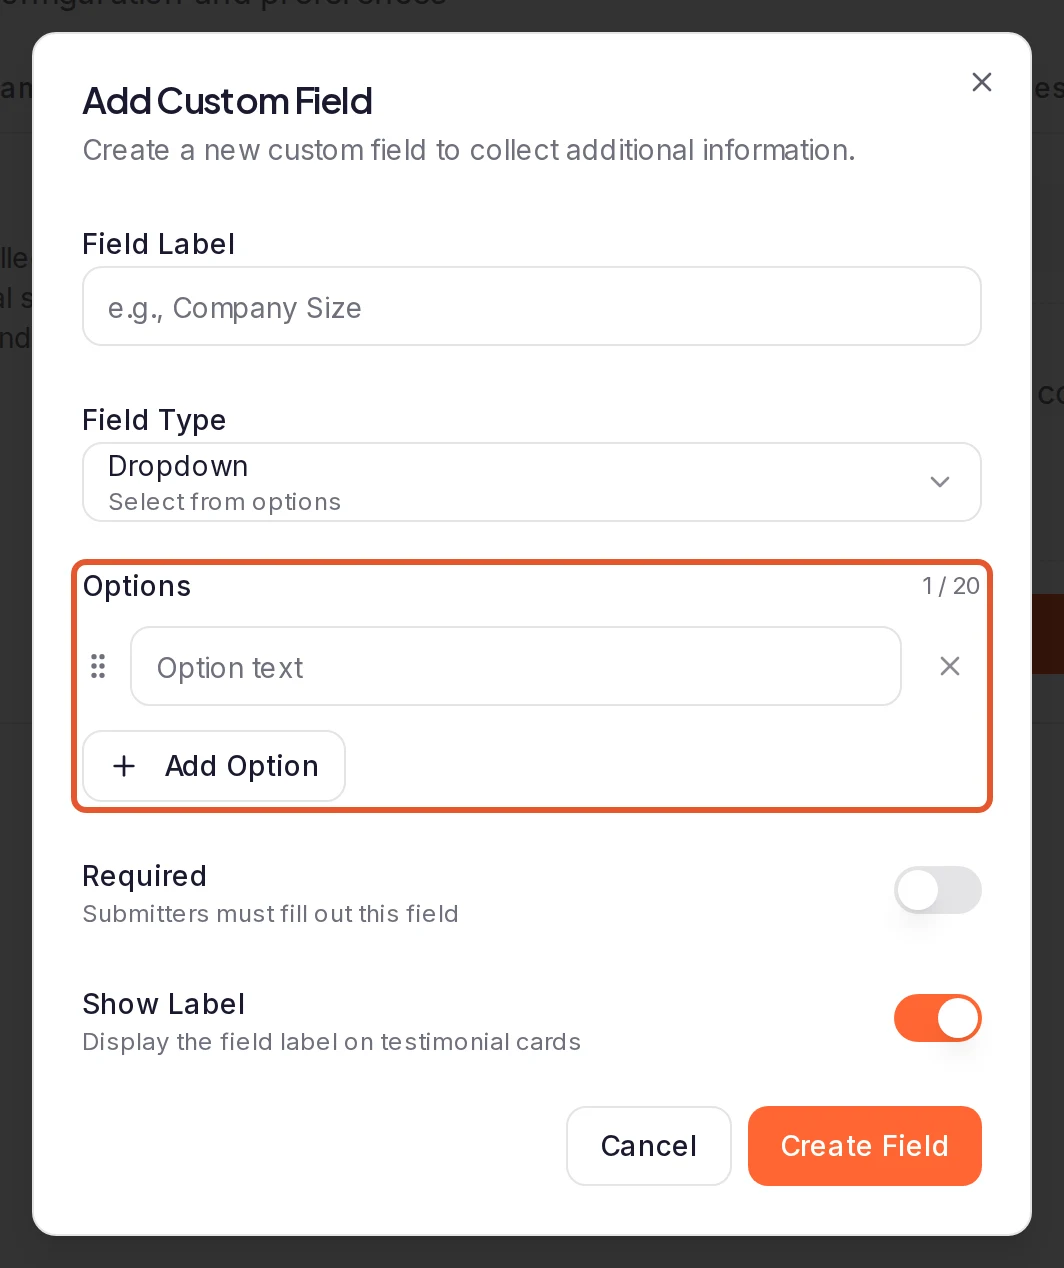
Click Add Custom Field. Enter a Field Label, such as "Company size", and pick a Field Type. Fill in the settings for that type; for a Dropdown, click Add Option for each choice.
Switch on Required if people must fill it in. Show Label starts on and shows the field's name next to its value on cards: switch it off to show the value alone. Click Create Field.
Drag a field by its handle to change the order fields appear in.
Ask for it on a form
Fields don't appear on any form until you switch them on. Open the form in the form builder and, on the Pages tab, click its About You or About Company page (add an About Company page with Add Page if the form has none). Under Custom Fields, switch your field on.
To change how it looks on this form, click the arrow beside it: you can set a Label, a Placeholder (for most types) and Required for this form only. If you switch the field on for both About pages, the builder says "Also enabled on" the other page: both pages share one answer, and it's required if either page requires it.
Show it on a widget
Open the widget in the widget builder. On the Design tab, under Card elements, click Custom Fields (it's listed when your widget's style can show fields) and switch on Show custom fields. Choose a Position (Below Title, Below Author or In Footer) and, under Fields to Show, switch off any field you want to keep off this widget.
Check your Wall of Love and share pages
These show your fields without any setup:
- Wall of Love: on the wall's Design tab, Custom Fields sets the Display Position (or Hidden) and which fields show.
- Share pages: under the Share Pages tab of your project settings, switch off Show custom fields on share pages if a field holds details that shouldn't be public.
Fill in values yourself
For testimonials you add or already have, fill in the fields in the Custom Fields section of the Add a text testimonial or Add a video testimonial dialog, or of the testimonial's Edit window. A field marked with * must be filled in before you can save. To fill them from a file, see Custom fields in "Import file columns and formats".
Change or delete a field
Hover over a field on the Custom Fields tab and click the pencil to edit it, then Save Changes. You can't change its type.
If you remove a Dropdown option that testimonials already use, a warning lists them. Testimonials keep the old value, even though it no longer matches an option; click Confirm & Save to go ahead.
To delete a field, click its trash icon. Deleting removes the field from every form and permanently deletes its values from your testimonials; the dialog says how many testimonials have one.
What happens next
New answers show up on your cards once the testimonial is approved. To see a testimonial's values in the inbox, click Show more on its card.
Was this page helpful?
Custom fields
Store extra details with each testimonial, such as company size or country, and show them on widgets, Wall of Love pages and share pages.
Translate testimonials
Translate testimonials by hand or with AI, one at a time or in bulk, and show them in your visitors' language on widgets and Wall of Love pages.