Build a collection form
Create a form from a template, set up its pages and required answers, test it in the preview and share its link with customers.
A collection form is a page where your customers leave a testimonial. You build it from a template, adjust its pages, try it out in the preview and then share its link.
Create the form
In your project, open Forms under Collect in the sidebar and click Create Form. If the project has no forms yet, pick one of the template cards under Create your first form instead.
Name it and choose a template
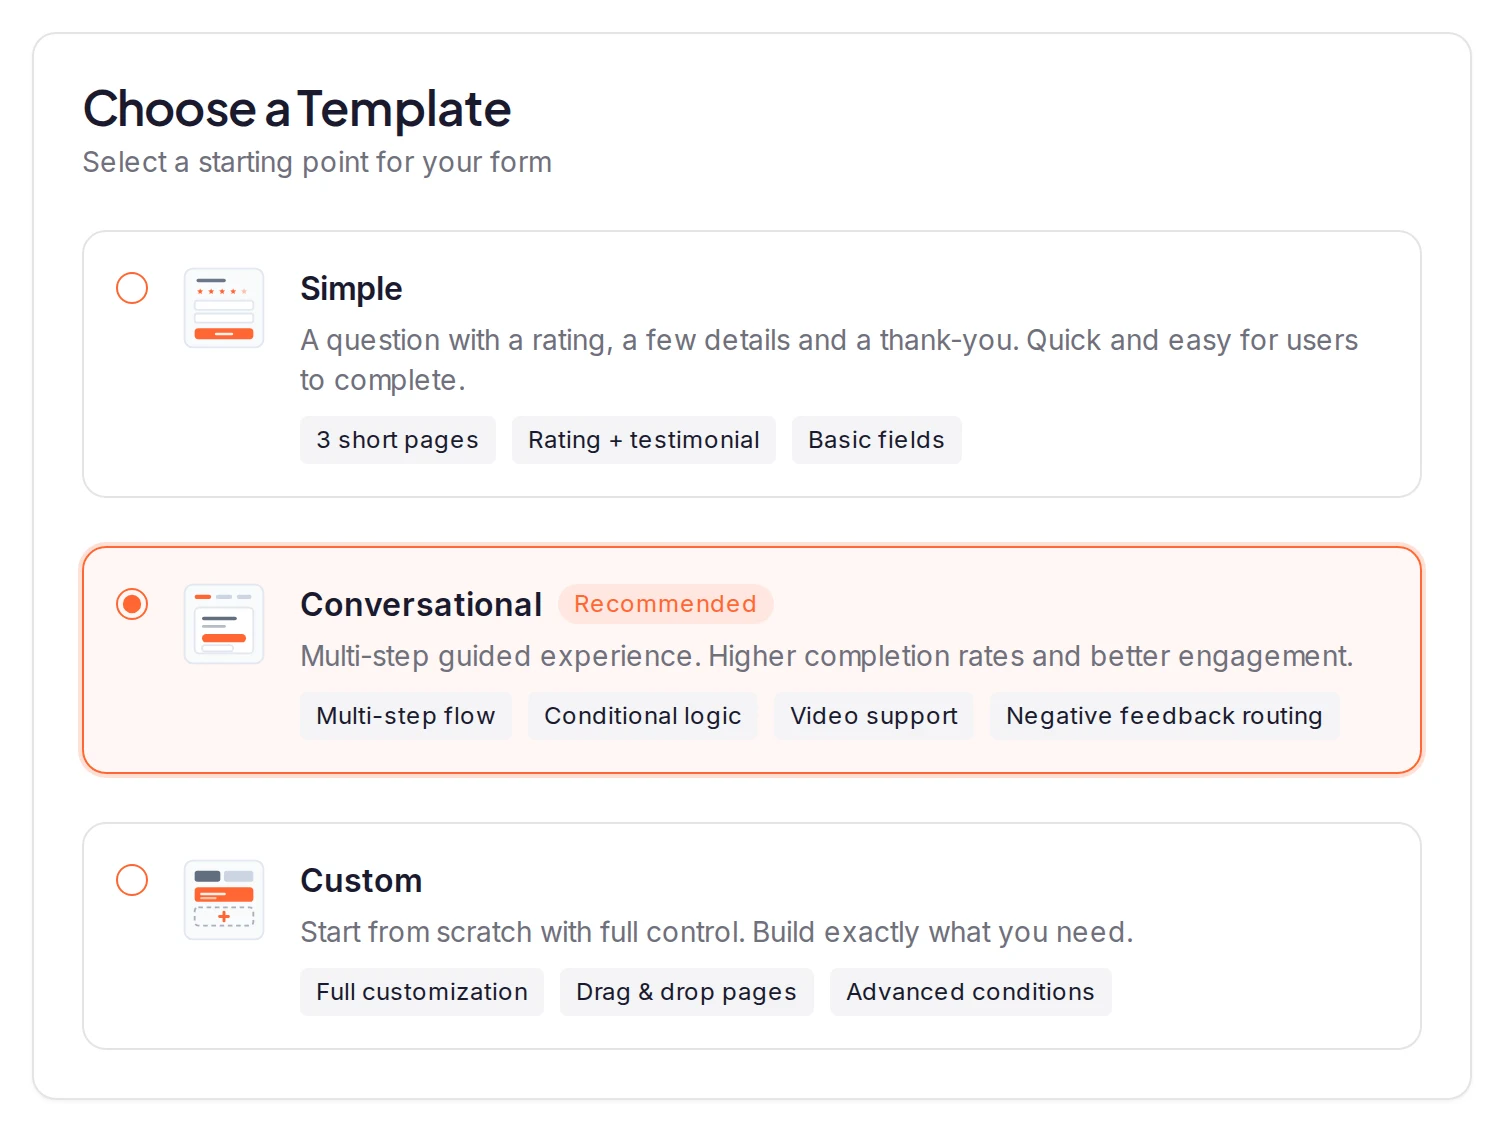
Enter a Form Name and, if you like, a description. Under Choose a Template, pick a starting point (the templates are described below), then click Create Form. The form builder opens.
Set up the pages
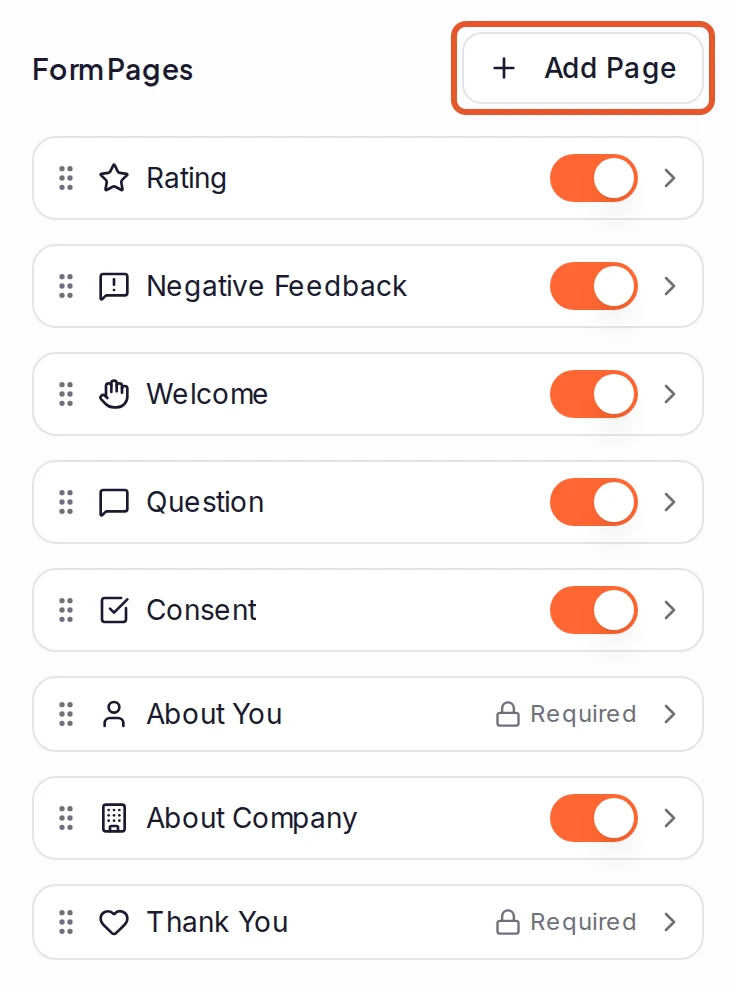
The Pages tab lists the form's pages in order. Click a page to edit its title, text and options; the preview jumps to that page. Click All pages to return to the list.
- Click Add Page to add a page. It goes just before Thank You. To place it elsewhere, hover between two pages and click the + that appears.
- Drag a page by its handle to move it.
- Use a page's switch to hide it without deleting it. To delete a page, open it and click the bin icon.
Test it in the preview
The preview next to the sidebar works like the real form: click through it as a customer would. The buttons above it switch between desktop, tablet and mobile, or start the form over. Nothing you enter there is submitted. To change the form's colours, fonts and logo, see Design your form.
Share the link
Click Share in the builder's top bar. On the Link tab, copy the Form URL, or click Download PNG to get a QR code that opens the form. To see the live form in a new tab, click Open form in the top bar (it's available while the form is Active).
Templates
- Simple: a short form. One Question page with a star rating, then About You and Thank You.
- Conversational (marked Recommended and selected by default): a guided, multi-step form with Rating, Negative Feedback, Welcome, Question, Consent, About You, About Company and Thank You pages, in that order.
- Custom: starts with the same three pages as Simple, ready for you to build on.
Whichever you pick, you can add, remove, reorder and edit pages afterwards.
Page types
The Add Page dialog offers these pages. Most types can appear only once in a form, but you can add as many Question pages as you need.
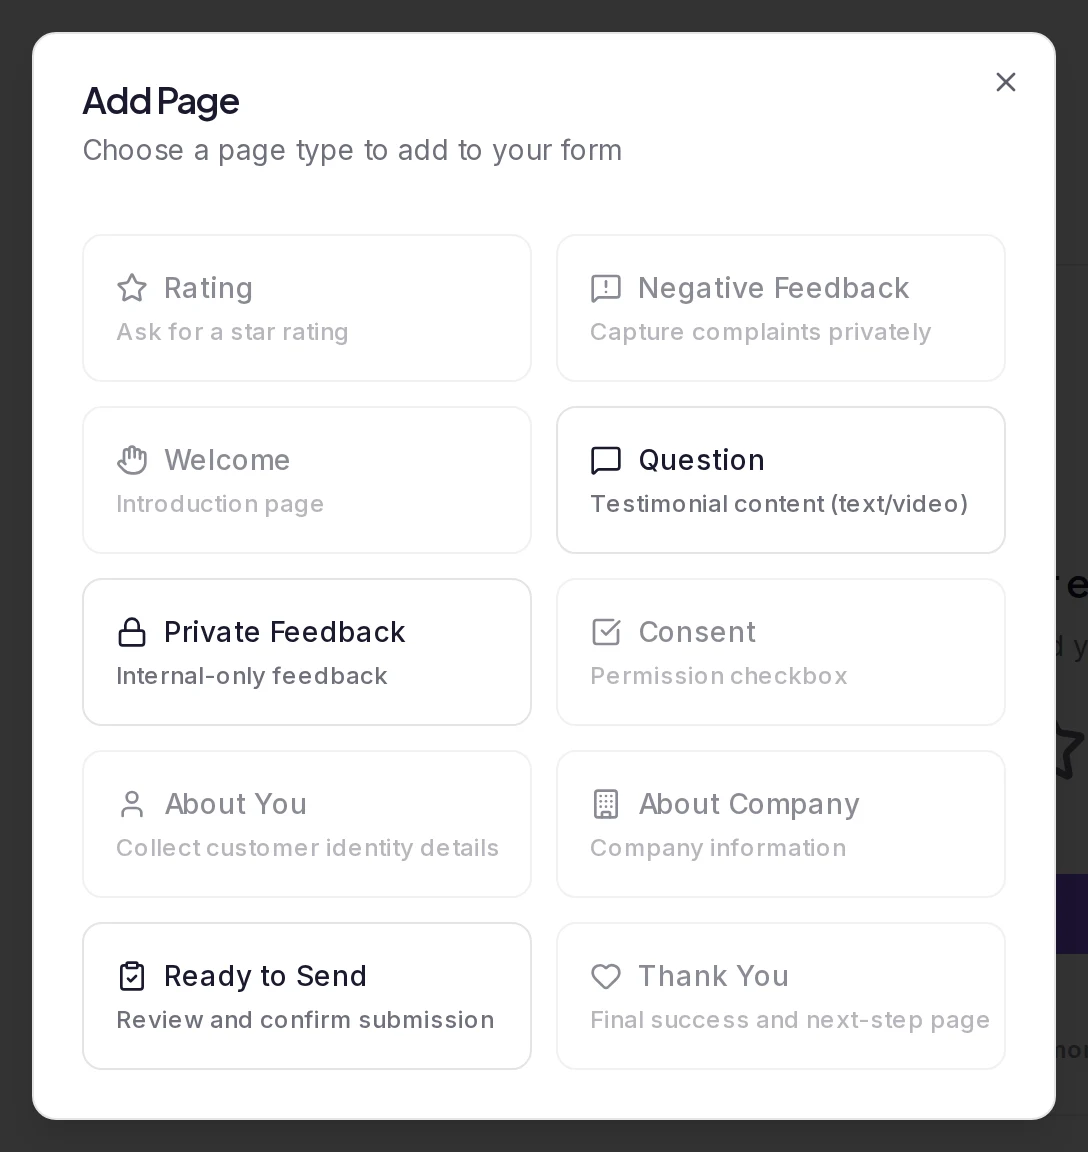
- Welcome: an introduction page, where you can add a welcome video and show a few of your existing testimonials. See Set up your form's welcome page.
- Rating: asks for a star rating.
- Negative Feedback: captures complaints privately. Unless you give it its own rules, it shows only to customers whose rating is at or below the Negative Feedback Threshold in the Settings tab. See Collect negative feedback privately.
- Question: the testimonial itself. Choose its Question Type, such as Text Only, Video and Text or Multiple Choice. For each type's settings, see Add questions, ratings and required answers. For video, see Collect video testimonials.
- Private Feedback: internal-only feedback. You read it under Form answers when you expand the testimonial in the inbox; it is never shown on a widget, a Wall of Love or a share page.
- Consent: a permission checkbox.
- About You: details about the customer, such as name, email and photo.
- About Company: job title, company, website and logo. For where each of these answers is kept, see Where each answer ends up.
- Ready to Send: lets the customer review their answers before submitting.
- Thank You: the confirmation page, where you can add a video, share buttons, a redirect to your website and links to review sites. See Set up your form's Thank You page.
About You and Thank You are marked Required: they're always shown and can't be hidden or deleted. A form also keeps at least one Question page.
Show a page only for some answers
Open any page except the first one, About You or Thank You, and use Conditional display. Click Add condition and pick an earlier page to base the rule on: a star rating, a consent checkbox or a multiple-choice answer.
Under Form answers, a multiple-choice question lists only the answers of customers who were shown it. If a customer answers a conditional question, then goes back and changes the answer it depends on, the question disappears for them and its earlier answer isn't saved.
Required answers
A customer can't move past a required answer until they give it. If they try, a message shows what's missing. The page's Skip button is hidden while it has a required answer. The same rules are checked again when the form is submitted.
- Rating and Question pages: the Required switch is on by default.
- Question pages can also ask for a star rating with the Star Rating switch when the form has no Rating page. That rating is required whenever the page is.
- Consent pages: the Required switch, on by default, makes ticking the box mandatory.
- About You and About Company pages: expand a field and tick Required. The customer's name starts out required in every template, and the Conversational template also requires their email.
The preview follows the same rules, except that video answers count as answered there.
Good to know
- A new form is live straight away. It starts out Active, and your edits save automatically to the public form. To take it offline, click the status badge in the top bar and choose Pause form. A paused form doesn't open for customers until you choose Activate form.
- Submissions arrive in your inbox. New forms have Require Approval switched on in the Settings tab, so each submission waits in Pending until you approve it.
- The number of forms per project depends on your plan: 1 on Free, 3 on Pro, 5 on Premium and unlimited on Business. Paused forms count too.
Next steps
Was this page helpful?
Ways to collect testimonials
Every way testimonials reach your project, from forms and email invites to file imports, review sites, social posts and media links.
Add questions, ratings and required answers
Add questions and a star rating to a form, let customers attach images, choose which answers are required, and see where each answer ends up.